# Installing Node.js and discord.js
# Installing Node.js
To use discord.js, you'll need to install Node.js. You can do so by going to the Node.js website (opens new window).
# Installing on Windows
If you're developing on Windows, it's as simple as installing any other program. Go to the Node.js website (opens new window), download the latest version, open up the downloaded file, and follow the steps from the installer.
# Installing on macOS
If you're developing on macOS, you have a few options. You can go to the Node.js website (opens new window), download the latest version, double click the package installer, and follow the instructions. Or you can use a package manager like Homebrew (opens new window) with the command brew install node.
# Installing on Linux
If you're developing on Linux, you may consult this page (opens new window) to determine how you should install Node.
On that note, there's a possibility that you may already have Node (e.g., if you're using a VPS). You can check by running the node -v command. If it outputs something like v12.0 or higher, then you're good to go! Otherwise, take a look at the page linked above for instructions on installing Node on your OS.
WARNING
If you do have Node installed, but have an older version (i.e. anything below 12.0), you should upgrade to the latest version. discord.js v12 requires Node 12.0 or higher.
# Preparing the essentials
To install and use discord.js, you'll need to install it via npm (Node's package manager). npm comes with every Node installation, so you don't have to worry about installing that. However, before you install anything, you should set up a new project folder.
# Setting up a project folder
Like any other project, you should have a dedicated folder to keep it organized and manageable.
Navigate to a place on your machine that's easy to find and reopen in the future for convenience purposes. Create a new folder like you normally would (depending on your OS, you can use mkdir project-name inside your terminal). If you already have a name you want to use for your bot, you can use that as the folder name. Otherwise, you may name it something like discord-bot for the time being (or anything else you have in mind).
Once you're done making the folder, open it up (depending on your OS, you can use cd project-name inside your terminal).
# Opening the command prompt
If you're on Linux, you can quickly open up the terminal with Ctrl + Alt + T.
If you're on Windows and aren't familiar with opening up the command prompt, do the following:
- Open your bot project folder.
- Hold down the
Shiftkey and right-click inside the folder. - Choose the "Open command window here" option.
It should then open up a window with a black background. It's a bit unattractive, but we'll talk about using better, more powerful tools in a different part of the guide.
# Using the command prompt
With the command prompt open, run the node -v command to make sure you've successfully installed Node.js. If you see something like v12.0, great! If not, go back and try installing again.
The next command you'll be running is npm init. This command creates a package.json file for you, which will keep track of the dependencies your bot uses and other info. If you're a bit confused by that, you can ignore it for the time being.
The npm init command will ask you a sequence of questions–you should fill them out as you see fit. If you're not sure of something or want to skip it as a whole, leave it blank and press enter.
TIP
Want to get started quickly? Use npm init -y to have it fill out everything for you!
Once you're done with that, you're ready to install discord.js!
# Installing discord.js
Now that you've installed Node.js and know how to open up your console and run commands, you can finally install discord.js!
To install discord.js, run the npm install discord.js. This can take a bit of time but should finish fairly quickly.
WARNING
Once the installation is complete, you'll see something like this:
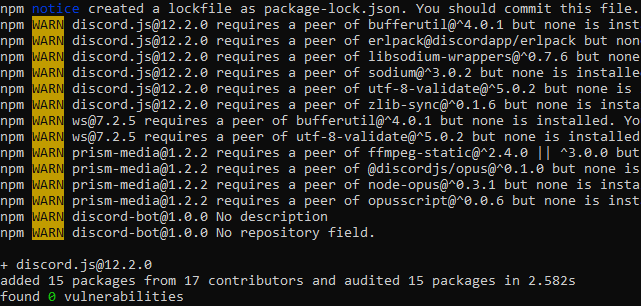
This is perfectly normal and means that it worked. You don't need to install any of the items listed to use discord.js; they are 100% optional.
And that's it! With all the necessities installed, you're almost ready to start coding your bot.
# Installing a linter
While you are coding, you may find that you run into numerous syntax errors or code in an inconsistent style. You should install a linter to ease these troubles. While code editors generally can point out syntax errors, with a linter, you can coerce your coding to be in a specific style as you define in the configuration. While this is not required, it's advisable. Click here for the linter guide!